Unlock the Secret to Sweet & Creamy Coconut Quinoa: Your Quick Guide
Imagine a side dish so versatile, so flavorful, and so incredibly nutritious that it effortlessly elevates any meal, from savory curries to sweet breakfast bowls. That's precisely what you get when you make coconut quinoa. This delightful grain, infused with the rich essence of coconut, offers a unique blend of sweetness and creaminess that is rapidly becoming a kitchen staple. Far more than just a substitute for rice, coconut quinoa is a culinary star in its own right, delivering a satisfying texture and a myriad of health benefits.
If you're looking for a simple yet sophisticated way to enhance your diet and delight your taste buds, learning how to prepare this dish is a fantastic first step. Whether you're a seasoned chef or a kitchen novice, our comprehensive guide will walk you through every step to create perfectly sweet and creamy coconut quinoa every time.
Why Coconut Quinoa is Your Next Kitchen Obsession
For years, coconut rice has held a special place in many cuisines, celebrated for its fragrant aroma and comforting creaminess. Now, coconut quinoa is stepping into the spotlight as an equally delicious, and often more nutritious, alternative. When you make coconut quinoa, you're not just preparing a side dish; you're crafting a versatile component that can transform ordinary meals into extraordinary experiences.
What makes it so appealing? Firstly, its unique texture – a delightful chewiness from the quinoa perfectly complemented by the silky richness of coconut milk. Secondly, the subtle sweetness allows it to pair beautifully with a wide array of dishes, from spicy stir-fries and robust curries to fresh, vibrant Buddha bowls. It brings a tropical twist and a comforting depth that enhances the overall flavor profile of your meal. Moreover, its ease of preparation makes it a weeknight winner, coming together on the stovetop in a flash. You can even whip up a double or triple batch for healthy meal prep throughout the week, ensuring you always have a wholesome and delicious option ready to go.
For more on how this superfood seamlessly fits into various meals, check out Coconut Quinoa: The Superfood Alternative to Rice for Any Meal.
The Essential Ingredients for Perfect Coconut Quinoa
One of the beauties of this recipe lies in its simplicity. To make coconut quinoa, you only need a handful of quality ingredients. However, choosing the right ones can make all the difference in achieving that irresistible sweet and creamy texture.
- Full-Fat Coconut Milk: This is the secret weapon for ultimate creaminess and rich flavor. While light coconut milk might seem like a healthier option, full-fat varieties provide a luscious mouthfeel and a more pronounced coconut taste that truly shines. Look for canned full-fat coconut milk; the solid cream at the top and the liquid beneath are both essential for the best results.
- Quinoa: We highly recommend using white quinoa for this recipe. Its milder flavor and slightly softer texture are perfect for soaking up the coconut goodness. However, red or tri-colored quinoa will also work, though they might retain a slightly firmer bite and nuttier flavor. Always remember to rinse your quinoa thoroughly before cooking to remove saponins, which can give it a bitter taste.
- Sweetener of Choice: A touch of sweetness elevates the coconut flavor beautifully. Maple syrup is a fantastic natural sweetener that offers a warm, caramel-like note, complementing the coconut wonderfully. Other excellent alternatives include honey or agave nectar, both of which provide a clean sweetness. You can adjust the amount to your personal preference, making it subtly sweet for savory dishes or a bit sweeter for a dessert-like experience.
- Water: Essential for proper quinoa hydration and cooking.
- A Pinch of Salt (Optional, but Recommended): A small pinch of salt can surprisingly enhance the sweetness and balance the overall flavor profile, preventing it from tasting one-dimensional.
Pro Tip on Coconut Milk
When selecting full-fat coconut milk, opt for brands without added thickeners or gums if possible. A good quality coconut milk will naturally separate into a thick cream and thinner liquid, which you'll stir together before use.
Step-by-Step: How to Make Sweet & Creamy Coconut Quinoa
Ready to create this culinary masterpiece? Here’s a simple, foolproof guide to make coconut quinoa that's perfectly cooked and bursting with flavor:
- Combine Ingredients: In a medium saucepan, combine 1 cup of rinsed quinoa with 1 cup of full-fat coconut milk, 1 cup of water, and your desired amount of sweetener (e.g., 1-2 tablespoons maple syrup). Add a small pinch of salt if using.
- Bring to a Boil: Place the saucepan over high heat and bring the mixture to a rolling boil. Stir occasionally to ensure the ingredients are well combined and prevent anything from sticking to the bottom.
- Reduce and Simmer: Once boiling, immediately reduce the heat to the lowest setting. Cover the saucepan tightly with a lid. It's crucial that the lid forms a good seal to trap the steam.
- Cook to Perfection: Let the quinoa cook undisturbed for about 15-20 minutes. Avoid lifting the lid during this time, as it releases precious steam needed for even cooking. The quinoa is done when all the liquid has been absorbed and the grains look plump with a tiny "tail" unfurling.
- Rest and Fluff: Once cooked, remove the saucepan from the heat but keep it covered for another 5-10 minutes. This resting period allows the quinoa to steam further and absorb any remaining moisture, resulting in a perfectly fluffy texture. Finally, uncover and gently fluff with a fork before serving.
Troubleshooting: Why is My Coconut Quinoa Watery?
A common issue when learning to make coconut quinoa is ending up with a watery consistency. Here are a few reasons why this might happen and how to fix it:
- Incorrect Liquid Ratio: The ideal quinoa-to-liquid ratio is 1:2. Ensure you're accurately measuring 1 cup of quinoa to 2 cups of total liquid (coconut milk + water). Slight variations in coconut milk consistency or quinoa type can sometimes affect this, but it's a good starting point.
- Not Fully Cooked: Sometimes, it simply needs more time. If after 20 minutes it's still watery, put the lid back on and let it cook for another 5 minutes on low heat, then rest.
- Lid Not Sealed Properly: Steam escaping means not enough liquid is being absorbed. Ensure your saucepan lid fits snugly.
- Expired or Old Quinoa: While rare, old quinoa can sometimes struggle to cook correctly. Always check the expiration date on your package.
Serving Suggestions & Culinary Creativity
The versatility of coconut quinoa is truly its strength. While it shines as a side dish, its unique flavor profile allows for incredible culinary exploration. Here are some ideas:
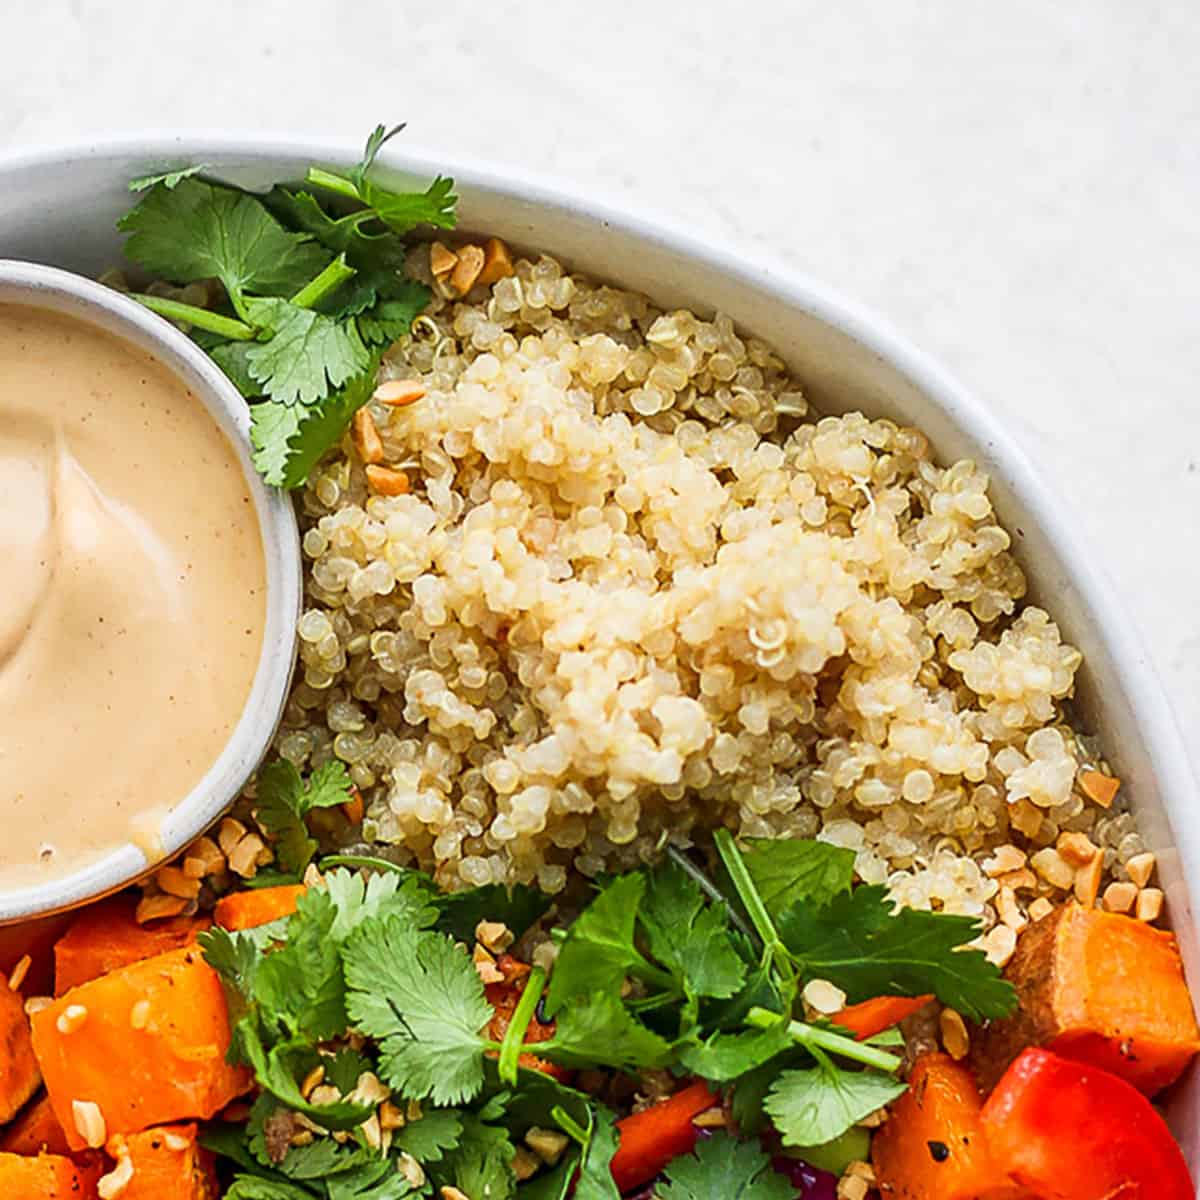
- Savory Pairings: It's a match made in heaven for Asian-inspired dishes, especially those with a spicy kick. Think alongside Thai curries, vibrant stir-fries, or even as a base for flavorful bowls like our Thai Coconut Quinoa Bowls. It’s also fantastic with grilled chicken, fish, or plant-based proteins. You can even use it to replace traditional rice in dishes like General Tso’s Cauliflower or serve it as a unique accompaniment to Korean Beef. Imagine replacing grits with coconut quinoa for a delightful twist on Cajun shrimp!
- Breakfast Bowls: Forget oatmeal! Coconut quinoa makes an incredibly satisfying and nutritious breakfast. Top it with fresh berries, sliced mango, a sprinkle of granola, and an extra drizzle of maple syrup for a tropical start to your day.
- Dessert Delight: This is a well-kept secret! A simple bowl of warm coconut quinoa, perhaps with a touch more maple syrup, a dash of cinnamon, and a sprinkle of toasted coconut flakes, transforms into a surprisingly comforting and healthy dessert. It's like a guilt-free rice pudding.
- Meal Prep Powerhouse: Prepare a larger batch and store it in airtight containers in the refrigerator for up to 4-5 days. It reheats beautifully in the microwave or on the stovetop with a splash of water or extra coconut milk to restore its creamy texture.
The Nutritional Powerhouse: Why Quinoa?
Beyond its delicious taste and incredible versatility, choosing to make coconut quinoa means you're embracing a superfood with an impressive nutritional profile. Quinoa is often celebrated as one of the healthiest grains on the planet, and for good reason:
- Complete Protein: Uniquely among plant foods, quinoa contains all nine essential amino acids, making it a complete protein source. This is especially beneficial for vegetarians and vegans, or anyone looking to boost their protein intake. A single cup of cooked quinoa provides approximately 8 grams of protein.
- High in Fiber: Quinoa is packed with dietary fiber, which is crucial for digestive health, helps regulate blood sugar levels, and contributes to a feeling of fullness, aiding in weight management.
- Rich in Micronutrients: It's an excellent source of important minerals such as iron, magnesium, manganese, phosphorus, and zinc, along with B vitamins and vitamin E. These nutrients play vital roles in everything from energy production to bone health.
- Naturally Gluten-Free: For individuals with celiac disease or gluten sensitivity, quinoa is a safe and nutritious grain alternative.
- Low Glycemic Index: With a low glycemic index, quinoa causes a slower and more gradual rise in blood sugar compared to many other grains, making it a suitable food choice for those managing diabetes.
Its combination of high protein, fiber, and essential nutrients makes it an amazing substitute for less nutritious grains like white rice and wheat. For a deeper dive into its health benefits, explore Healthy Coconut Quinoa: High Protein, Gluten-Free & Diabetic-Friendly.
Conclusion
Learning how to make coconut quinoa opens up a world of culinary possibilities. It's a dish that proves healthy eating can be both incredibly flavorful and wonderfully satisfying. With its sweet, creamy texture and impressive nutritional benefits, coconut quinoa is far more than just a side; it's a foundation for countless delicious and wholesome meals. So go ahead, gather your ingredients, follow these simple steps, and prepare to fall in love with your new favorite superfood. Your taste buds and your body will thank you!
